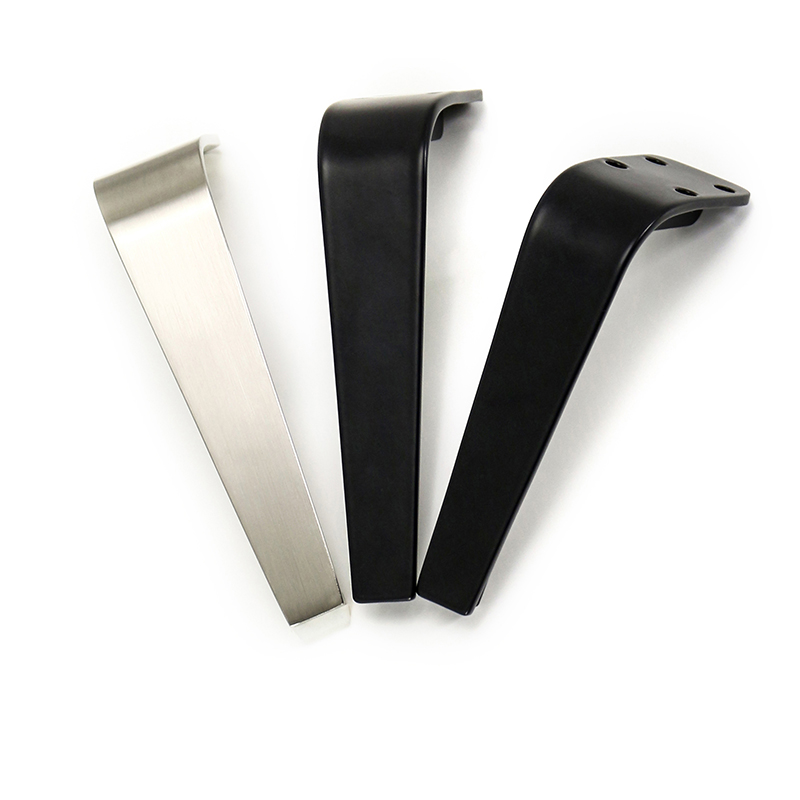
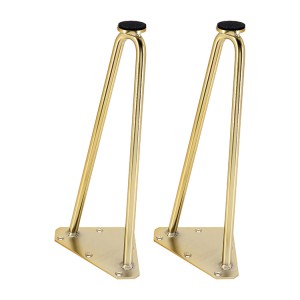
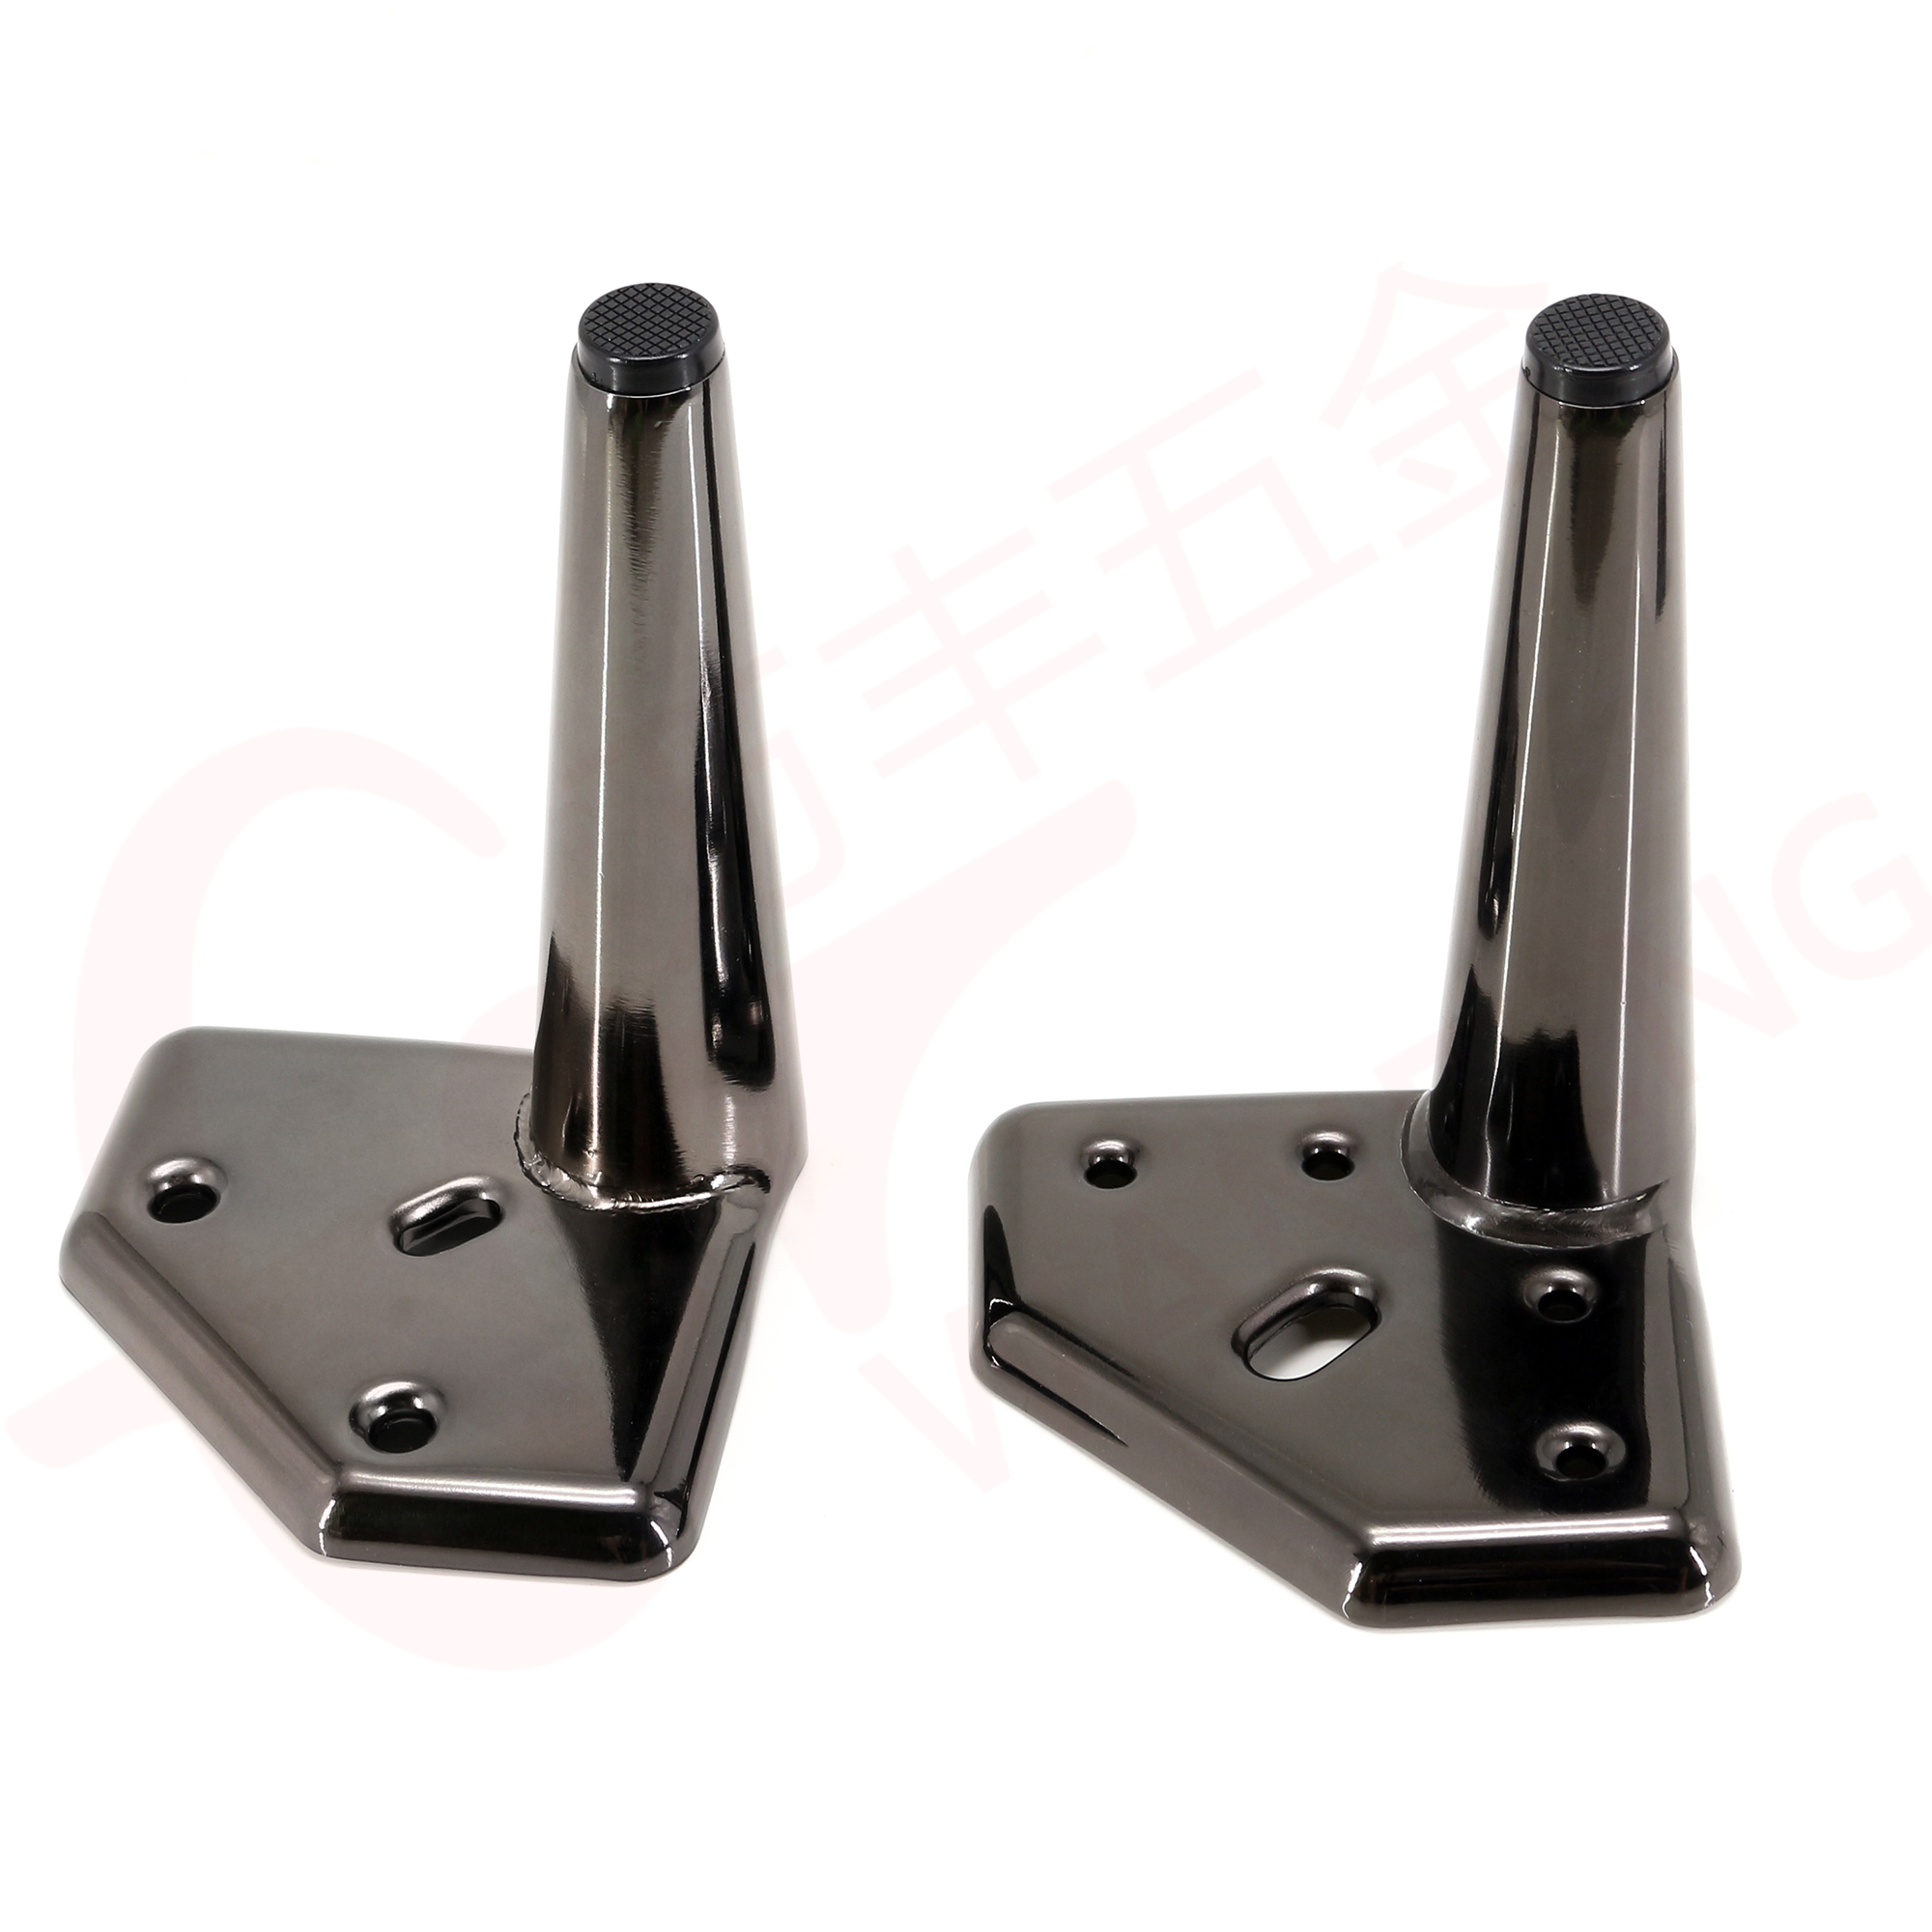
This is how I welded a steel leg for the coffee table I made before my youth. The metal leg provides a unique and modern combined farmhouse design for the steel leg. , And then use a welding machine to fill any gaps, while increasing portability and strength. The special black metal and modern angles contrast with the warm imaginary wood of the tabletop, using classic durable materials to create a timeless design.
Need:
Metal tube
Argon arc welding machine
MIG welding machine
Band saw
Angle grinder
Grinding wheel
Line wheel
Fog
Painting
Bolt, flat and lock tighter
The way to produce a table leg
Step 1:
Create a model for the leg assembly
Designed the model of the table leg assembly and printed the drawings for reference throughout the project.
Step 2:
Collect and prepare leg assembly materials
Use a laser or cutting machine to divide the material to perform the required bevel cut. Cut all the parts needed to create and weld the design.
Step 3:
TIG welding inner rectangle
Start with the center rectangle and use the TIG torch to weld the center rectangle of the leg assembly. Make sure the rectangle is very square to build the rest of the components.
Step 4:
Measure external components
After completing the inner rectangles of the two leg assemblies, use speed squares and planes to ensure that the lengths of the parts assembled on both sides of the center rectangle are the same. Any deviation will have a significant impact on the rest of the leg assembly in the future.
Step 5:
Lay out the fixture
After setting up a square fixture on the assembly table, use the 45 degrees on both sides of the square layout leg assembly, and then fix it together with a TIG welding machine.
Step 6:
Connect the upper and lower parts of the leg assembly
Use a jig to arrange the upper and lower parts on a flat reference surface, make sure all are square, and then place the rectangle in the center. Fix them in place with a TIG welder and place at least two tacks on each joint on one side, then turn the assembly over and repeat the process on the reverse side.
Step 7:
MIG welding
After the assembly is complete, use the MIG welder to correct any slight deviations and large gaps that need to be filled in a more effective time.
Step 8:
Polishing
Use a wire wheel to polish and polish the welds, and remove any rust on the steel while waiting for assembly.
Step 9:
Complete the metal leg assembly
Start with a layer of self-etching primer, then finish with a few coats of semi-gloss black enamel spray paint.
Step 10:
Assemble the pre-drilled holes for the legs
I pre-drilled holes to connect the table top to the leg assembly. I drilled oversized holes and placed the bolts in the middle of the holes so that the table can expand and contract over time without problems. ,
Step 11:
Install the furniture cushion
In order to protect the floor and prevent the metal pipe from sliding, a maple mat was prepared, bolted to the leg assembly, and a self-adhesive felt mat cut to size was attached.
That's it! Hope this helps you, please contact us to understand the process more clearly. goodbye!
Searches related to furniture legs sofa:
Post time: Aug-31-2021


